where can my Ice bath go?
-
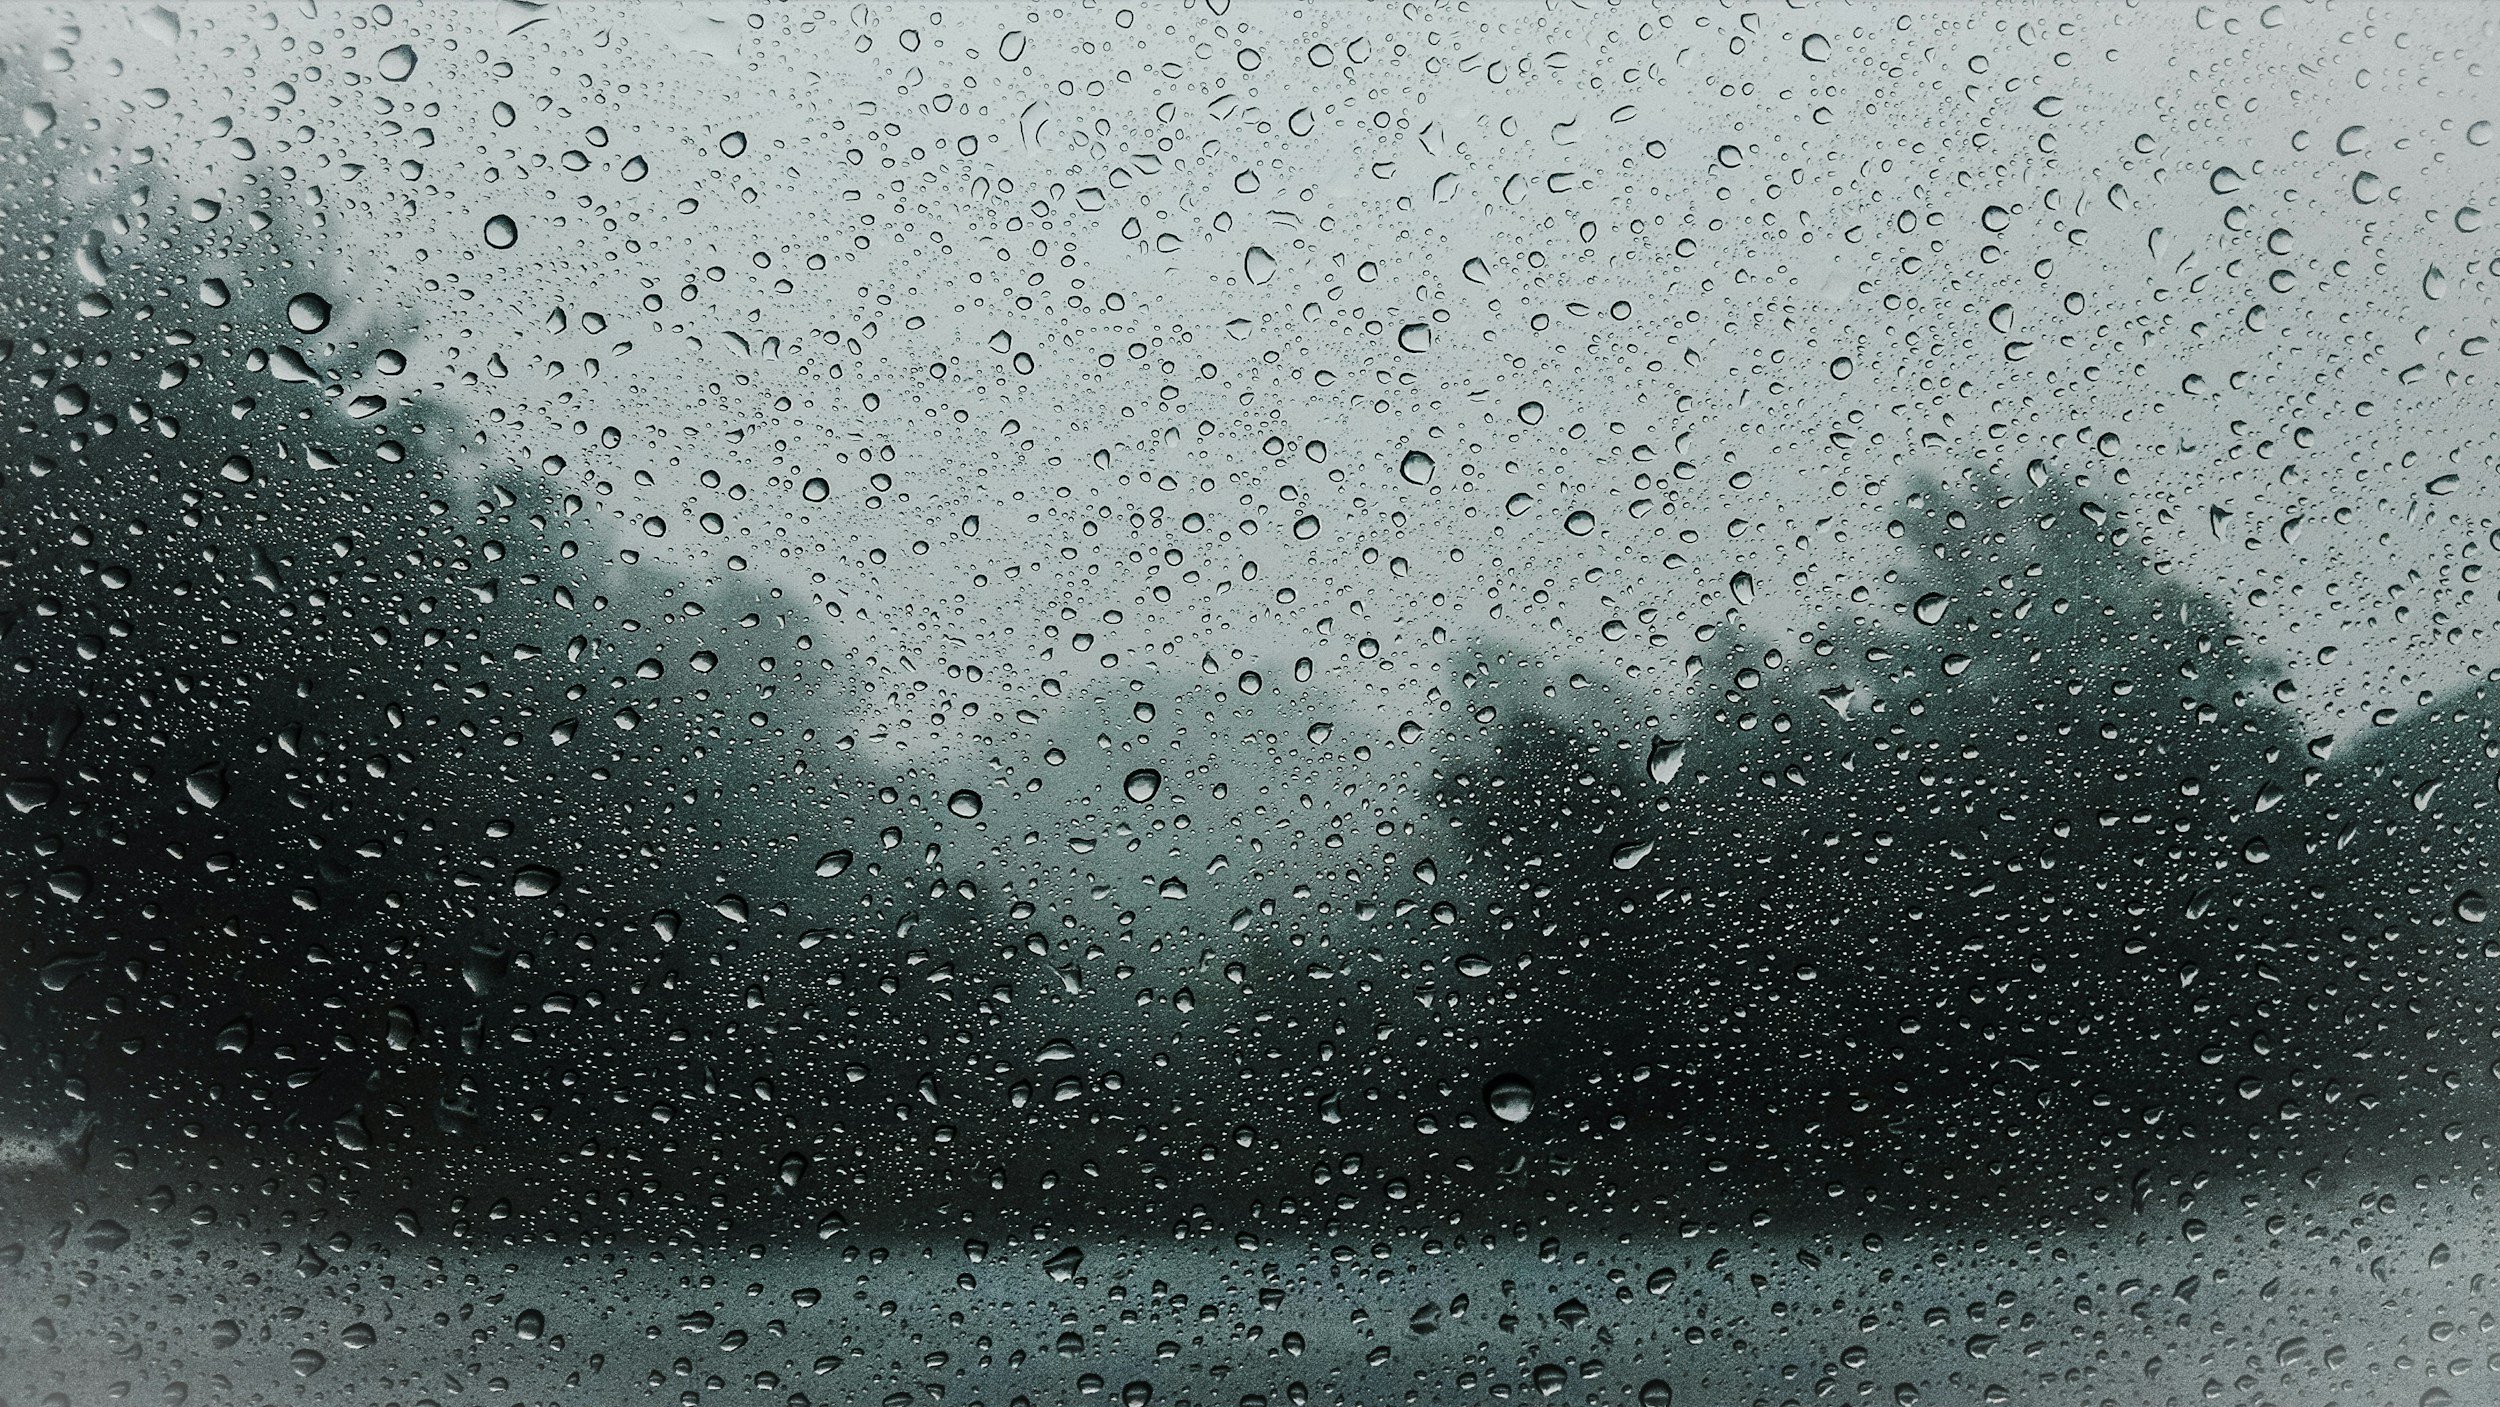
Our Chiller Units are IPX5 rated which means they are ideal for both indoor and outdoor use. They provide comfort, that if your unit is exposed to water in any way, you and your equipment are well protected.
The IPX5 water rating indicates that your ice bath is protected against water jets projected from a nozzle (6.3mm) from any direction. For hot and cold plunge equipment, this ensures that it can handle more intense and sustained water exposure than lower-rated devices, which is crucial in environments exposed to outdoor weather conditions.
Why IPX5 is superior to IPX4 for your ice bath chiller unit
1. Enhanced Protection Against Rain and Water Exposure:
IPX4: Protected against splashing water from any direction. Suitable for light rain or minor water exposure.
IPX5: Protected against water jets from any direction. Can handle stronger and more continuous water exposure, making it ideal for heavy rain, ensuring the equipment remains operational during adverse weather conditions. This is ideal for the Perth winter months.
2. Greater Durability in Outdoor Weather:
IPX4: Offers basic protection that might not be sufficient during heavy rain or prolonged exposure to water from weather conditions.
IPX5: Provides a higher level of durability and reliability, ensuring the plunge equipment remains functional even in harsh outdoor conditions, such as heavy rainstorms or continuous drizzle. This gives you confidence to put your ice bath where you want it without concern when the winter storms come rolling in.
3. Versatility in Various Outdoor Environments:
IPX4: Suitable for environments with occasional water exposure or light rain.
IPX5: Ideal for regular outdoor use, where the equipment might face substantial water exposure from heavy rain, splashes, and continuous wet conditions. When you are getting in and out of your plunge, you do not need to be concerned with keeping your chiller dry. It is well protected.
In summary, the IPX5 water rating is superior to IPX4, particularly when being used outdoors because it offers stronger protection against more intense and sustained water exposure.
-
To ensure your ice bath installation adheres to these regulations, we strongly recommend contacting your local council. Each state and territory in Australia has specific requirements regarding pool fencing, and local councils can provide you with the most accurate and up-to-date information. They can guide you on the necessary fencing height, gate requirements, and other safety measures specific to your area.
By consulting your local council, you can ensure that your ice bath is safe, legal, and compliant with all relevant legislation, providing peace of mind and protecting the well-being of all users.
-
Set up of these takes approximately 15 minutes and you can take your plunge anywhere with you.
Step 1: Inflate and Prepare the Tub
Inflate the tub using the pump provided.
Wipe it clean to ensure it's free from dirt and debris.
Ensure there is adequate space to fit the hoses without any obstructions from walls or other objects.
Step 2: Connect Hoses and Filter
Connect the hoses and the external filter to both the chiller and the tub. Green to Green and Red to Red.
External filter connects to the chiller inlet.
Ensure all connections are tight to avoid leaks.
Step 3: Fill the Tub
Fill the tub with water. Given the water quality in Perth, using filtered water is suggested.
Any water filtration system, such as a portable caravan filter, can be used, but it is not necessary.
Once the water level is above the outlet hose, you can turn the chiller on.
Fill the tub to below
the “max” depth to avoid over flow.
Step 4: Turn on the Chiller
Step 5: Set Up the Smart App
Use the instructions provided to connect to the Tuya smart app.
Set your preferences for turning on/off and adjusting the temperature.
If you are new to cold water immersion, it is recommended to start with a temperature below 15 degrees Celsius, but to avoid shock far from the 2 degree minimum.
Step 6: Chill and Enjoy
Wait for the water to reach your desired temperature.
Enjoy your cold plunge!
-
Step 1: Prepare the Tub
Ensure the cedar tub is clean and placed in a suitable location with adequate space for the hoses and equipment, free from obstructions.
Understand your Local Council pool fencing laws and adhere to them.
Step 2: Connect Hoses and Filter
Connect the hoses and the external filter to both the chiller and the tub. Green to Green and Red to Red.
The external filter connects to the chiller inlet.
Ensure all connections are tight to avoid leaks.
Place the Chiller Box over the chiller and flush with the tub.
Step 3: Fill the Tub
Fill the tub with water. Due to the water quality in Perth, using filtered water is suggested.
Any water filtration system, such as a portable caravan filter, can be used, but it is not necessary.
Once the water level is above the outlet hose, you can turn the chiller on.
Step 4: Turn on the Chiller
Turn on the chiller to start cooling the water.
Step 5: Set Up the Smart App
Use the instructions provided to connect to the Tuya smart app.
Set your preferences for turning on/off and adjusting the temperature.
If you are new to cold water immersion, it is recommended to start with a temperature below 15 degrees Celsius, but avoid going too close to the 2-degree minimum to prevent shock.
Step 6: Chill and Enjoy
Wait for the water to reach your desired temperature.
Enjoy your cold plunge in your permanent cedar tub!
-
For our more permanent options, we suggest finding a suitable and solid surface such as concrete, pavers or compacted gravel. This will avoid damage to your tub, surrounding area and also ensure stability over the long term.


